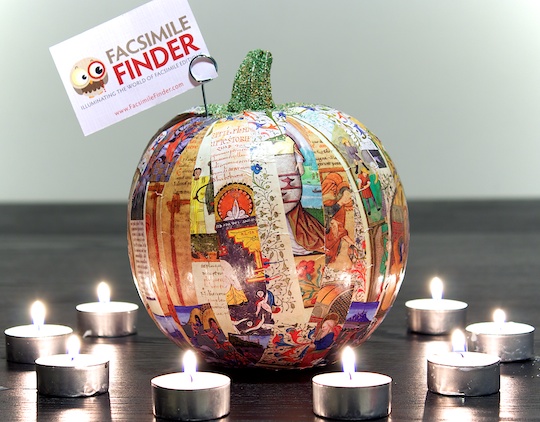
Wondering what to do for Halloween? Our staff has the perfect solution for you!
Okay, admit it: Who among you, upon hearing the phrase “illuminated pumpkins” has never thought—just for a second—of beautifully painted books?
We know you have, because you’re incurable Medievalists!
To satisfy your illuminated fantasies, we decided it was finally time to create a real illuminated pumpkin.
Create your own illuminated pumpkin!
And the best part is that we documented the whole process to give you a great tutorial so you can make your own illuminated pumpkin! Here we go: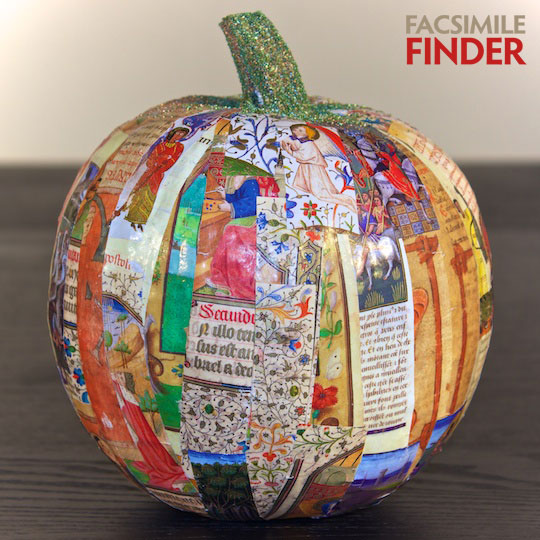
Step 1: You need a pumpkin—not too large—with clean and even surfaces; scissors; vinyl glue; a brush; colored powders; and a few illuminated pages.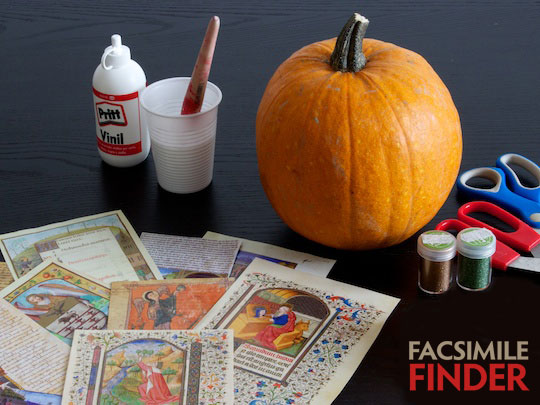
To find illuminated pages, you can either look for magazines or ask for a catalog from a publisher. Our stunning pages were kindly provided by Siloé, from Burgos (Thanks guys!).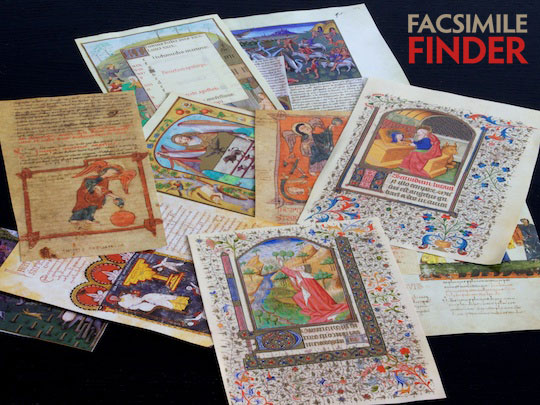
Step 2: Cut the pages into narrow strips (2–3 cm).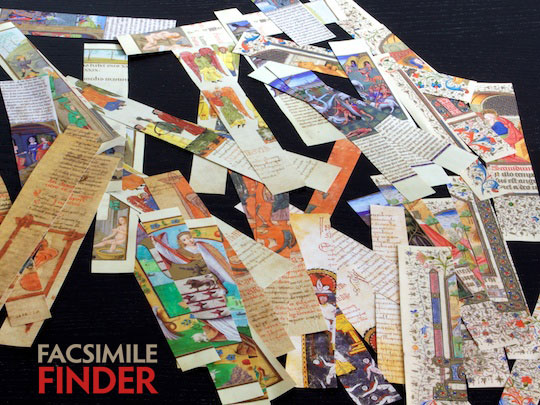
Step 3: Mix the vinyl glue with water and cover your pumpkin with the mixture.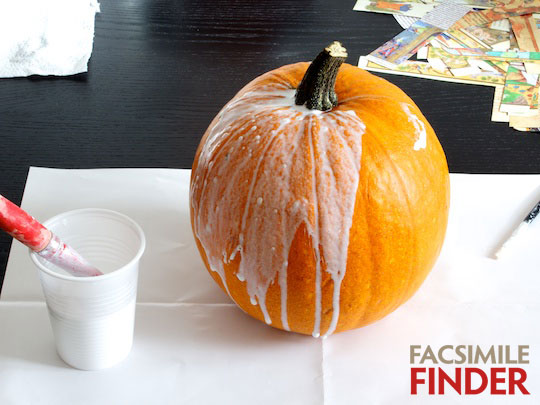
Step 4: Start applying the illuminated stripes. Just before applying them to the pumpkin, drown them in a bowl of water. Depending on the quality of the paper, you might want to vary the length of the soaking.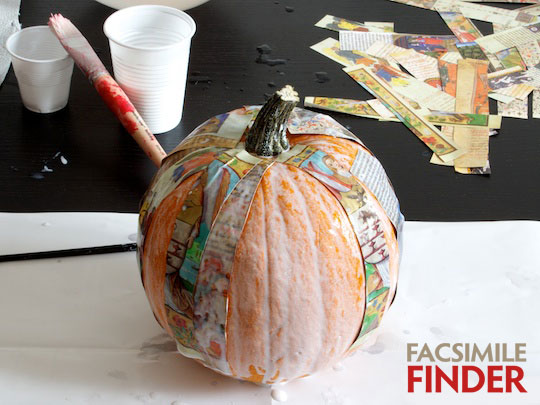
Step 5: Every once in a while, cover the strips with more glue. Make sure the edges are carefully glued down to the pumpkin. Cover each and every spot of the pumpkin with strips. Leave just the stem without decoration.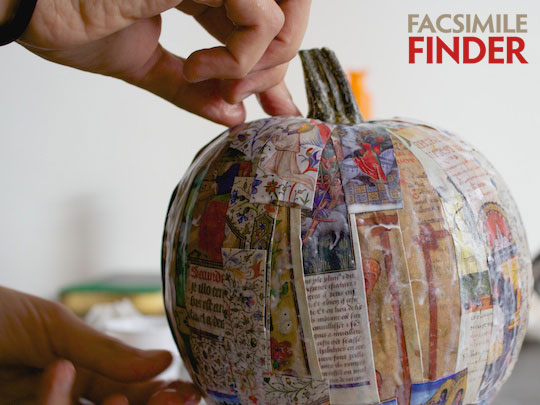
Step 6: Stem time! Let the pumpkin dry out a little bit (2 hours), then decorate the stem by applying glue…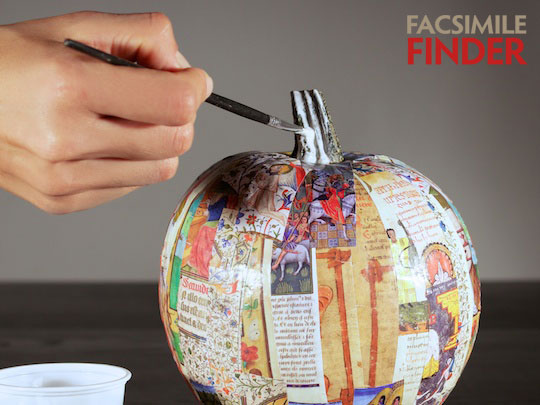
… and dropping colored powder on it! We used two different colors: dark green and gold.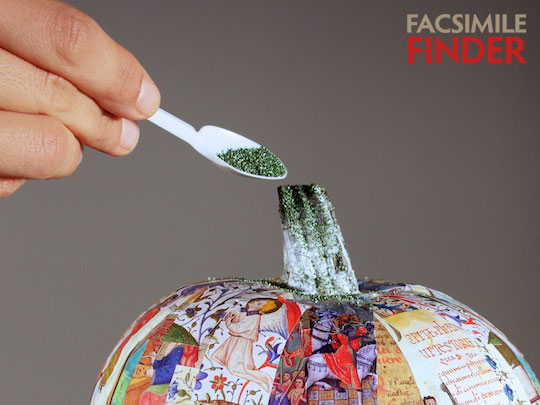
A close-up of the decorated stem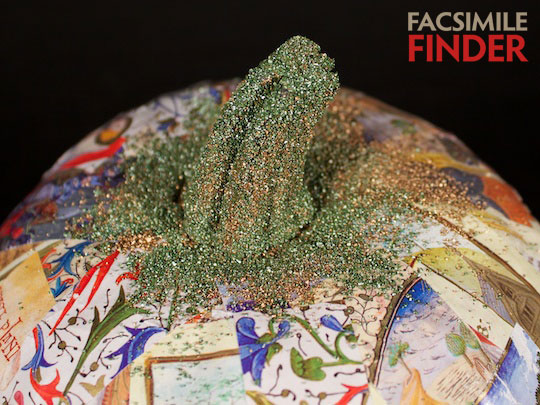
Enjoy your illuminated pumpkin!
Happy Halloween! 
UPDATE (November 27th, 2012):
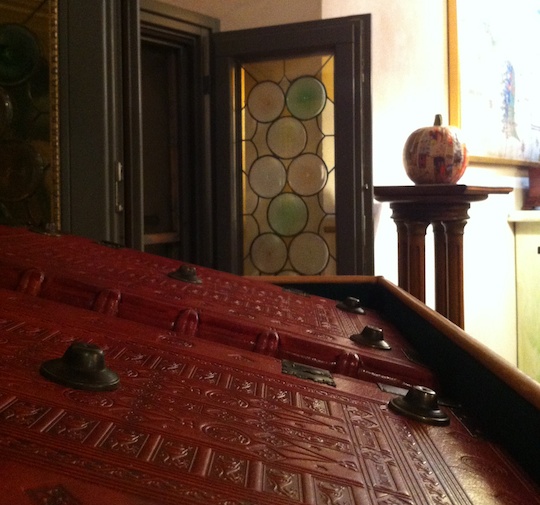
Our illuminated pumpkin has a new house! We gave it to the Museo di Arte Povera in Sogliano al Rubicone, where Roberto Parenti houses a large collection of facsimiles and art books. Thanks to Roberto and to his amazing museum!


