Tired of the same old Jack o’Lantern? We have the perfect solution to make your Halloween so very special, with our Halloween pumpkin carving tutorial!
It’s Halloween again!
Last year – remember? – we created the very first illuminated pumpkin you’ve ever seen: medievalists went crazy for it and it ended up in a museum!
And once again, we have a little something for you…
A multi-layer torch-powered super-cool Athena-shaped carved pumpkin!
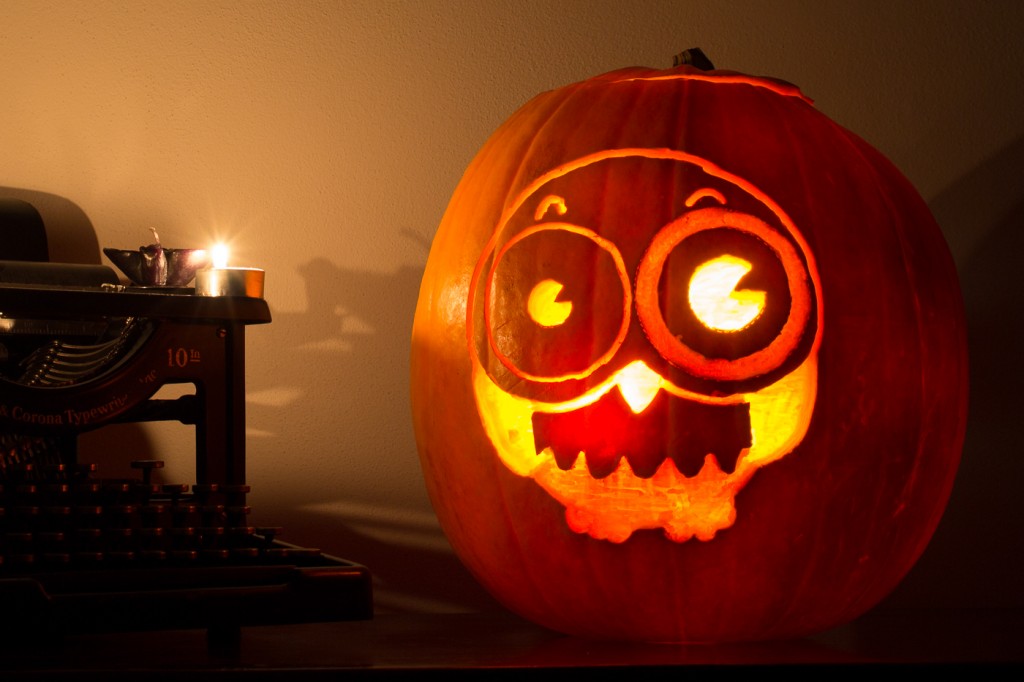
How to create your carved pumpkin
First, you’ll need some stuff to get ready:
- A large pumpkin
- The usual super-sharp knife and a large spoon
- Safety glasses
- A dremel tool
- Groggy (what!?)
- The stencil of the picture you want to carve: we printed our lovely Little Owl on a A4 paper (approx. 21 x 30 cm) + tape
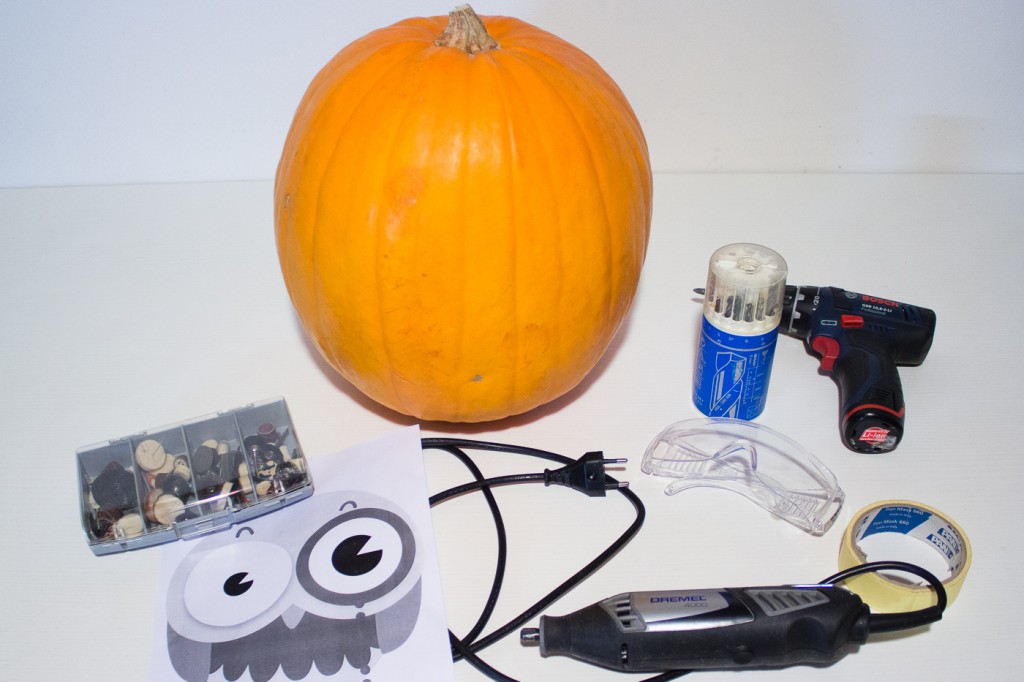
A welcome addition to all this might have been a dust sheet to cover the table we’ve worked on. We didn’t get it and we SO regret it: pumpkin pulp is very sticky and it took a while to clean the surrounding – walls included! – once we were done.
Let’s start!
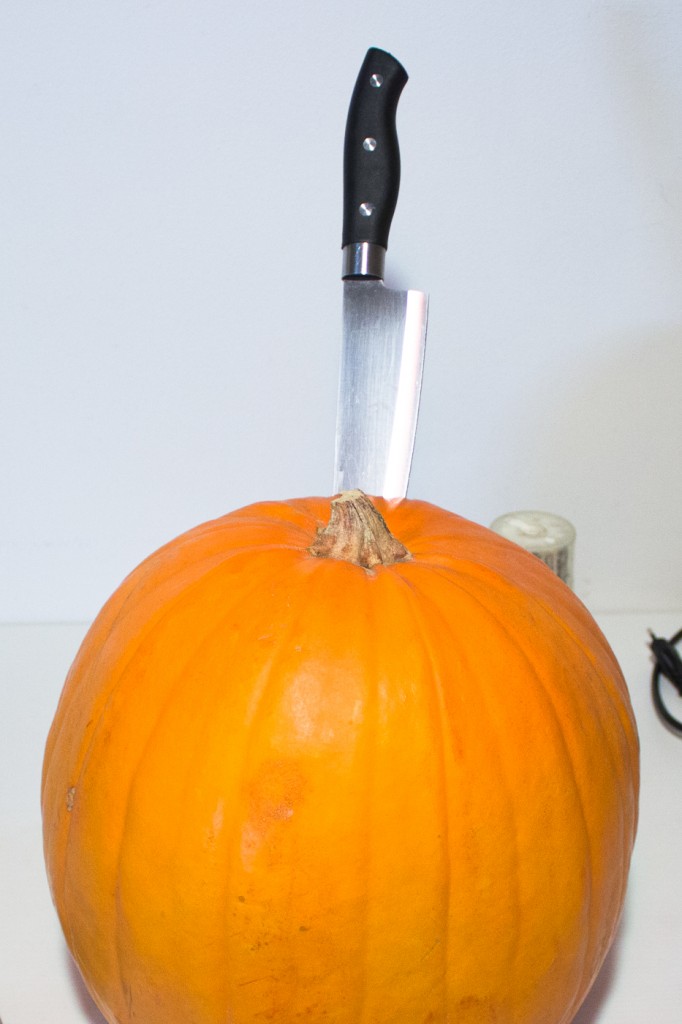
First, make sure to kill the pumpkin. Push the knife through the top, close to the stem, and cut a hole to get access to the internal part. If you keep the blade with an angle, it’ll be easier to refit the “hat” later.
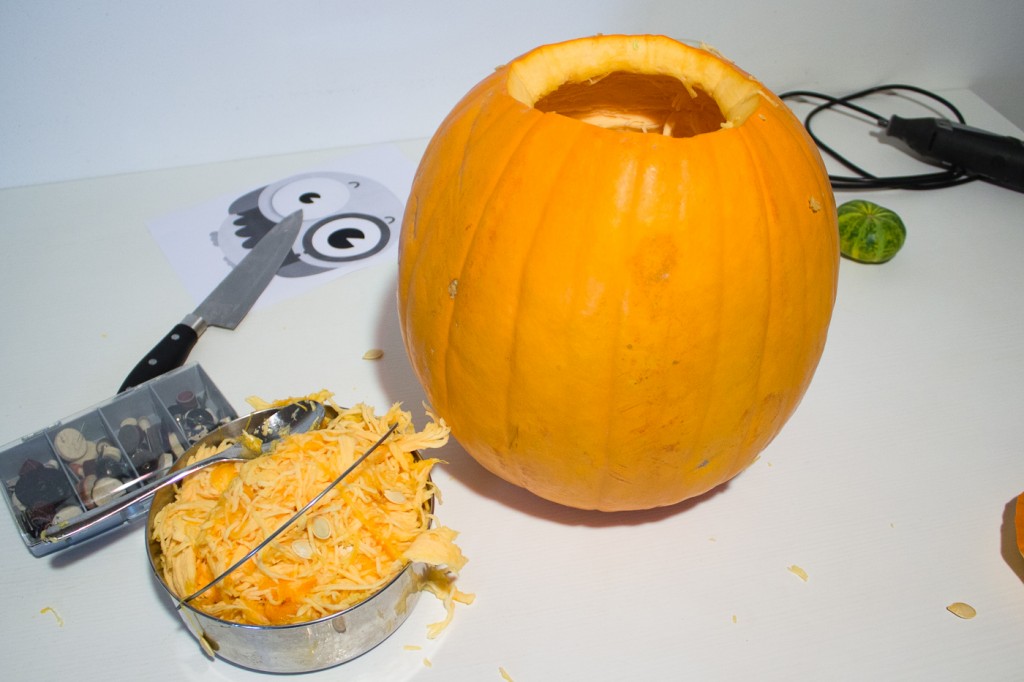
Once you get access to the content, use the spoon to scrape the inner part of the pumpkin and empty it. To be honest, we’re not really sure of the reason for this step: a chiseled pumpkin is not see-through! Anyway, every tutorial out there suggests it, so don’t ask questions and follow the rules!
Now, take your stencil and carefully tape it to the pumpkin on the side that you feel more appropriate.
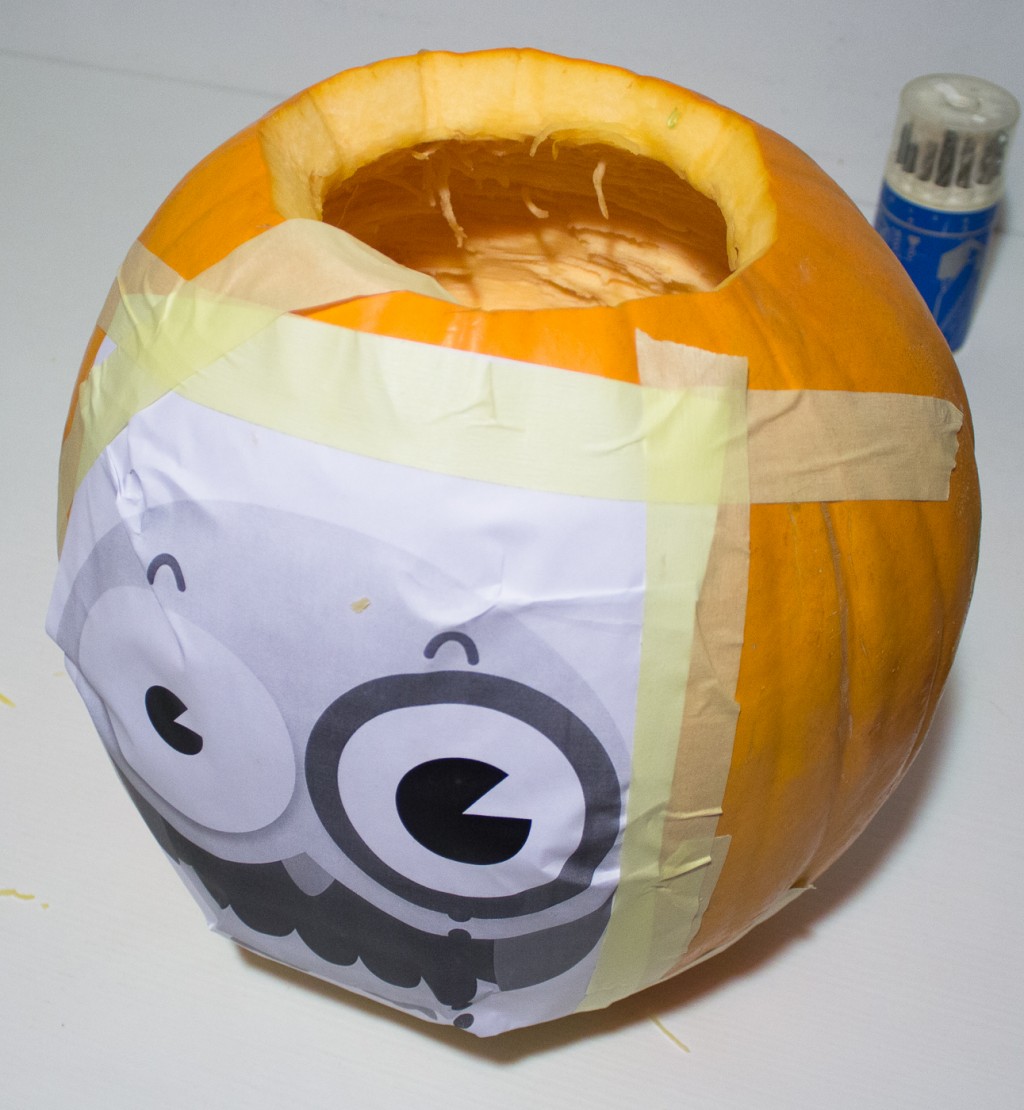
When done, use a very pointy thing (either a knife or some tool… We used Groggy) to mark the outline of your stencil. Make small holes all along the lines BUT don’t push too much. You don’t want to cut through the wall of the pumpkin: you just need to replicate the design on the surface.
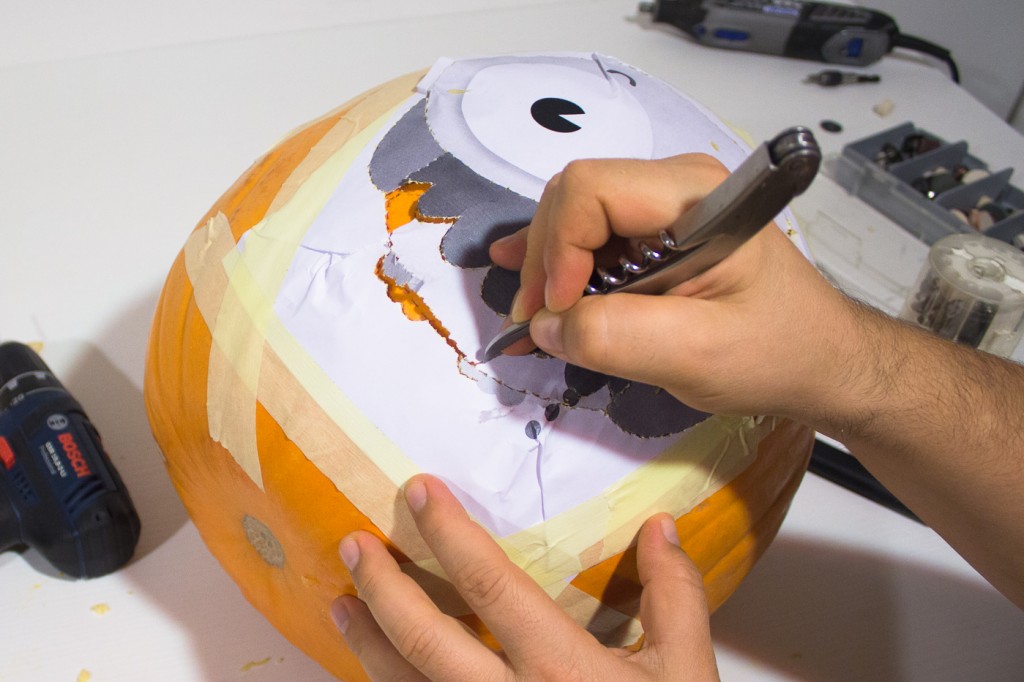
This is how your pumpkin will look, ready to be dremelized. For those who don’t know, a dremel is a rotary tool that comes with a number of accessories. Among them, it’s the engraver/cutter tool, that happens to be perfect for messing around with pumpkins! Start with following the lines and peel off the outer skin. Don’t push too much!
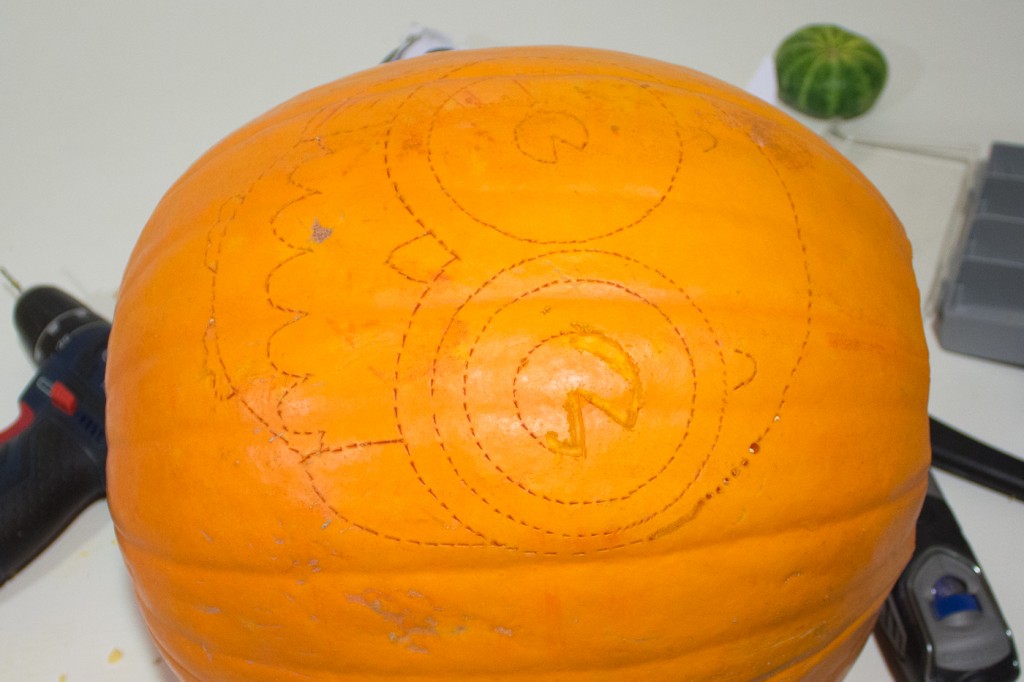
At this point you should be wearing your goggles: if you don’t, you’re probably rushing to the closest hospital to get your eyes cleaned, and we’ll wait patiently here until you’re back, with your glasses ON.
Now it’s time to pick the areas to be carved and decide the depth.
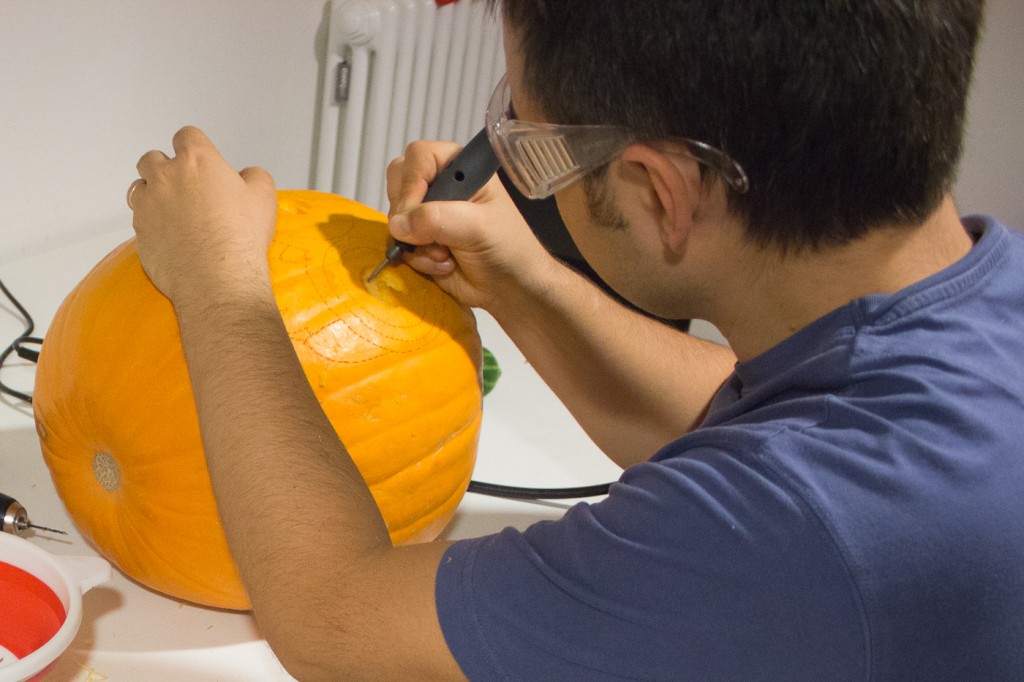
In our case, pupils, beak and wings are very deeply carved (leaving just a thing layer of pulp), the monocle and the lower part of the body are halfway and the outlines are just scraped. Both eyeballs and the main body are left untouched. To work properly, you might want to have a light inside the pumpkin and low lights around you.
At this point, we’ve decided to install the illuminating system, so we opened a hole on the opposite side of the chiseled owl and fit a torch there. The same torch work also to enlighten the pumpkin once finished.
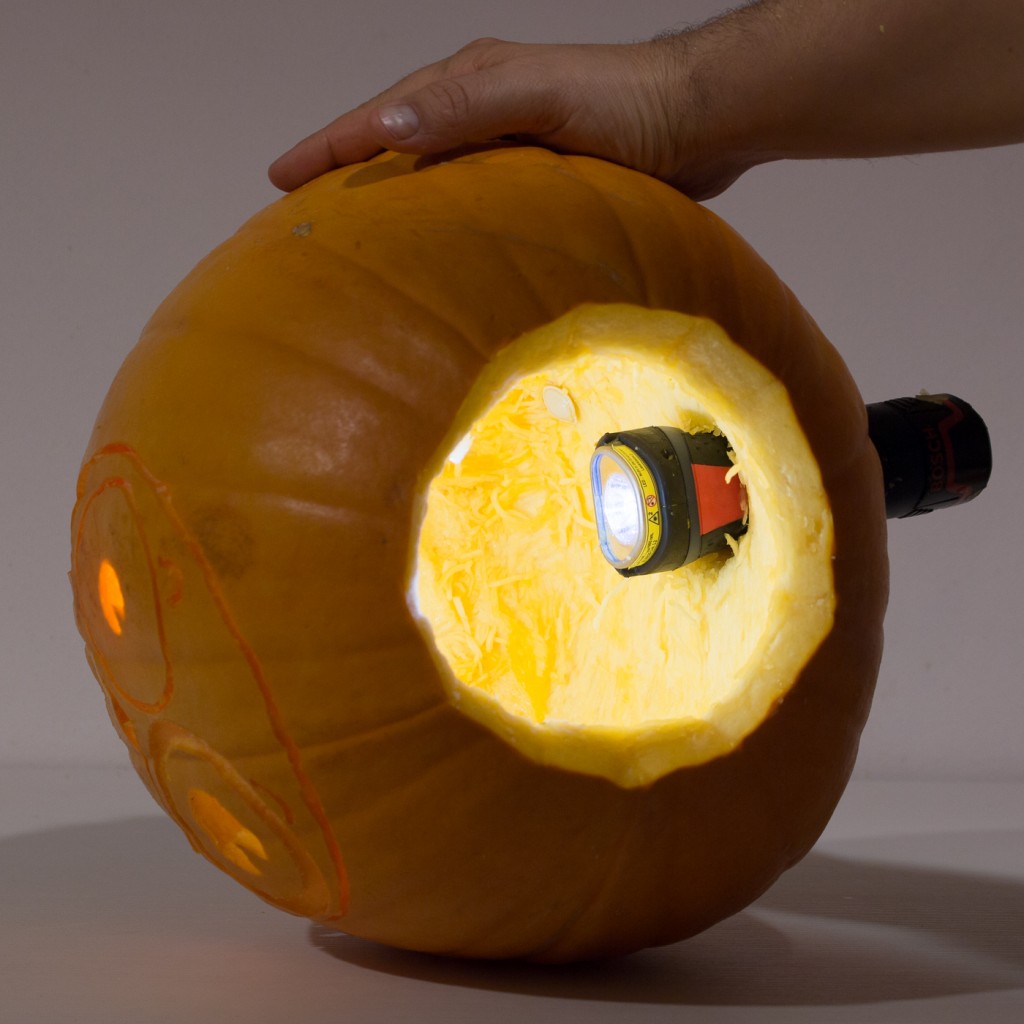
Once done with the carving (good luck with cleaning up that mess!), the finished product might not look so appealing…
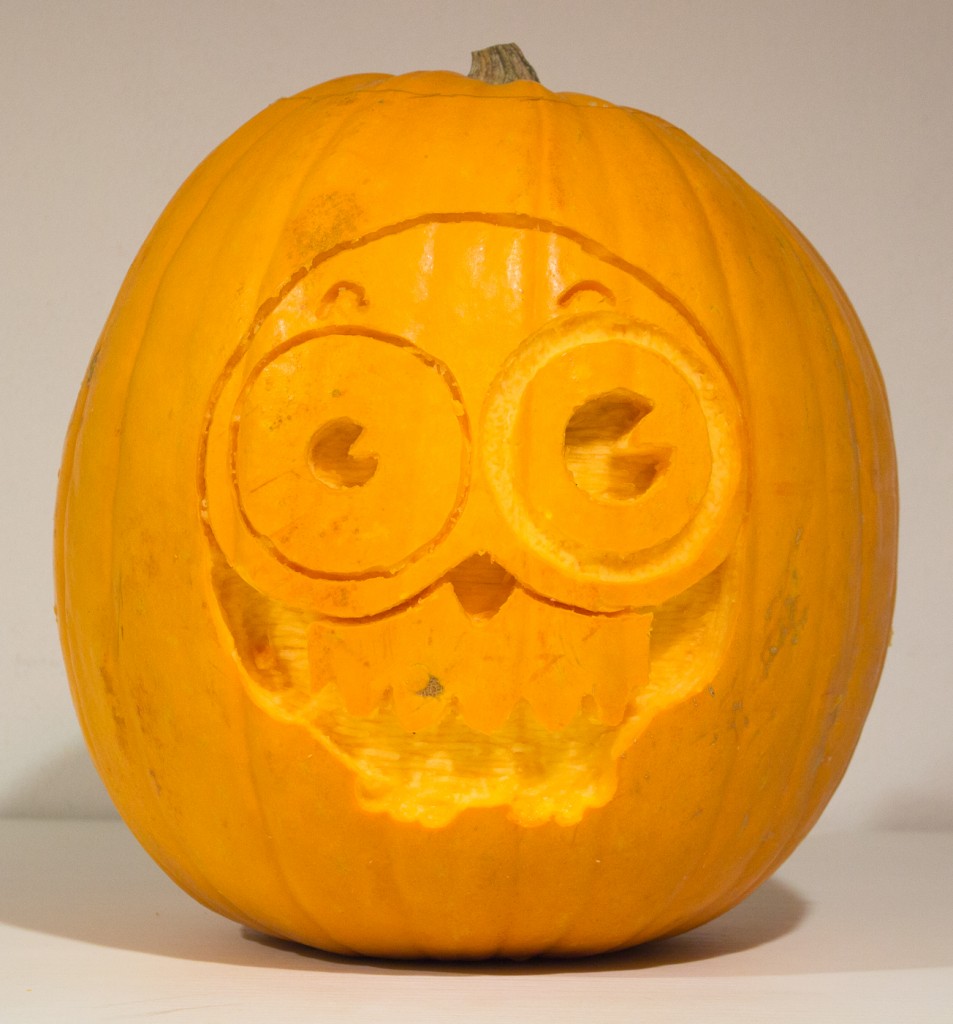
Until you light it up!


